Windows 10 offers a free basic video editor program called Video Editor. With this program, you can trim and split clips, insert audio and pictures, and more. This article will walk you through the basics of using Video Editor. For more detailed information about the program, see here.
Beginning a Project
1. Search Video Editor in the Search bar and open the program when it appears.
2. Select New Video Project.
Adding Media Elements
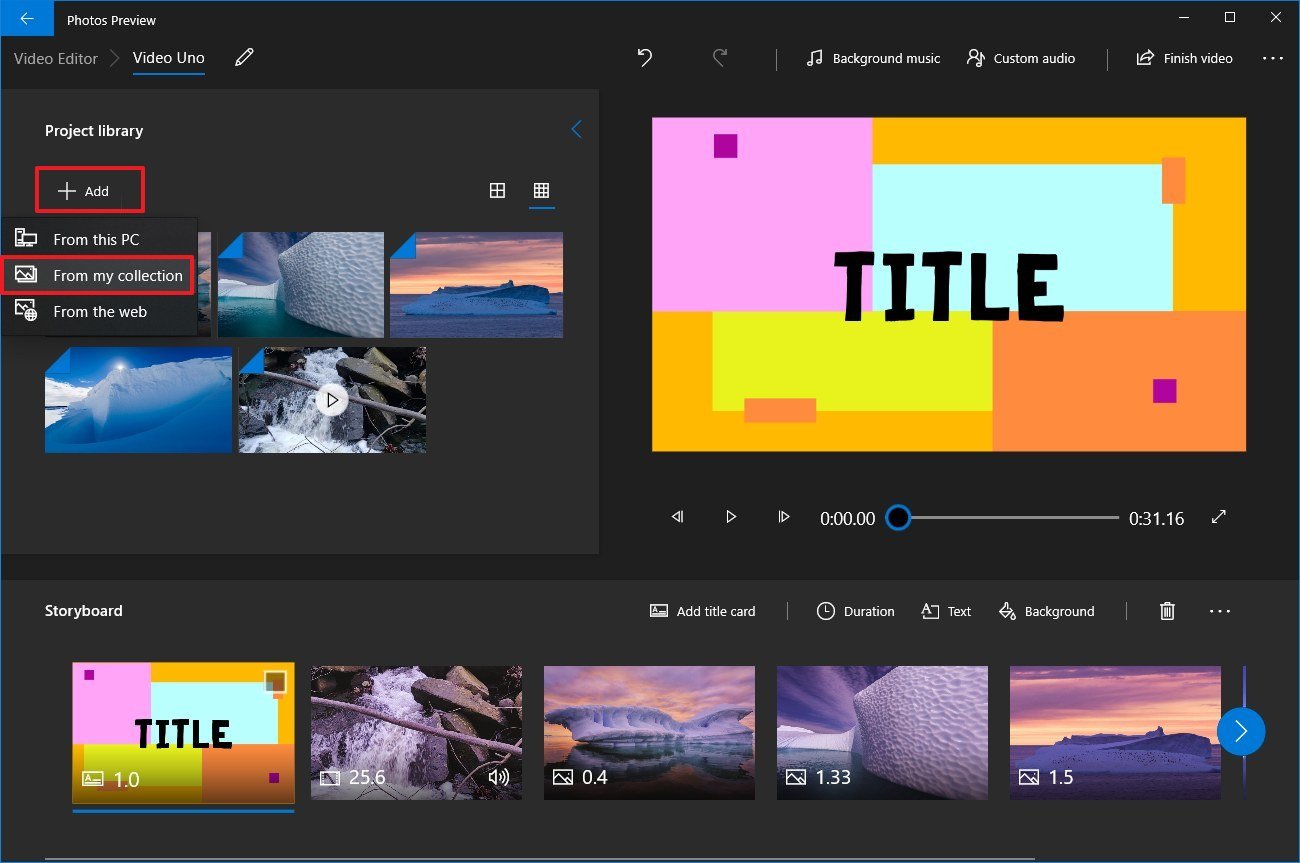
1. Under the "Project Library" section, click the Add button in the top-left corner.
2. Select the From my collection option.
Quick note: The video editor also allows you to import files that are not part of the Photos app, such as from an external drive, using the "From this PC" option, and you can even use the "From the web" option.
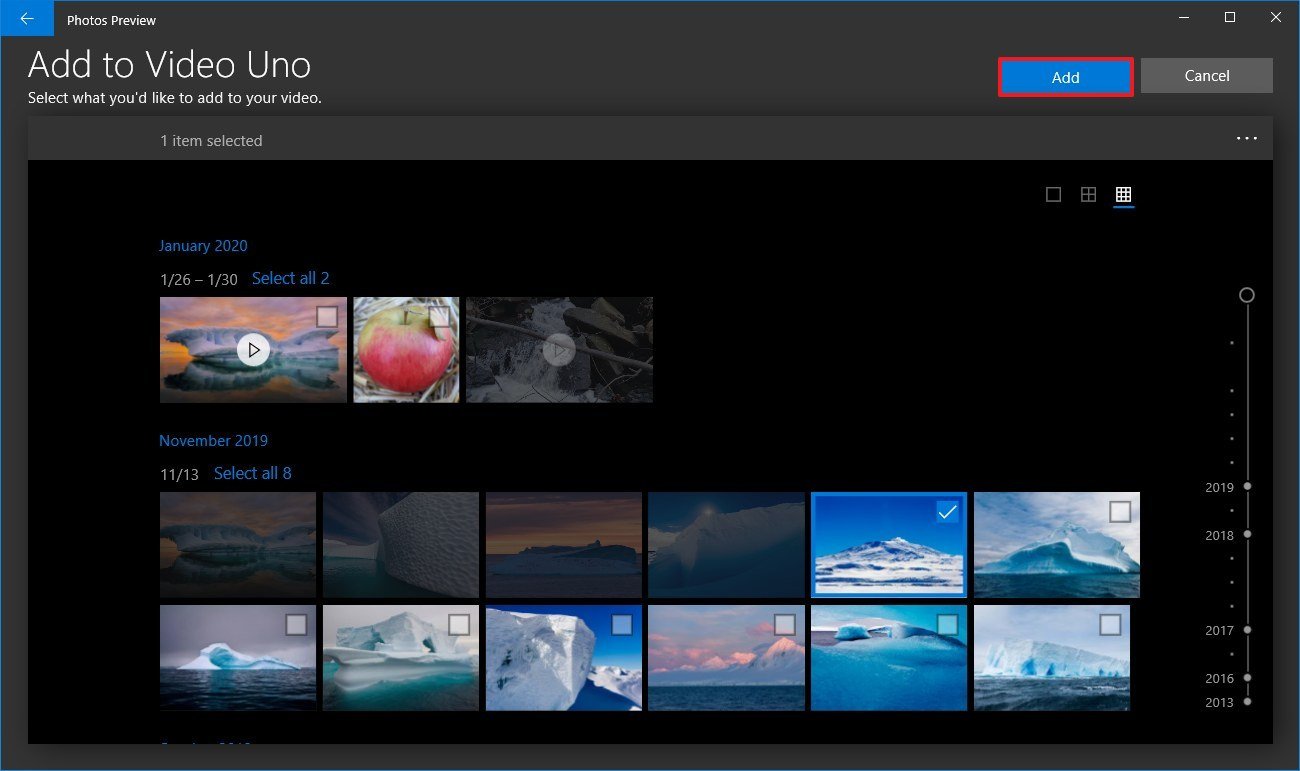
3. Select the pictures and videos you want to be part of the project.
4. Click the Add button from the top-right corner.
5. Check the media elements to begin your video.
6. Click the Place in storyboard button. (You can also drag-and-drop the files to the storyboard.)
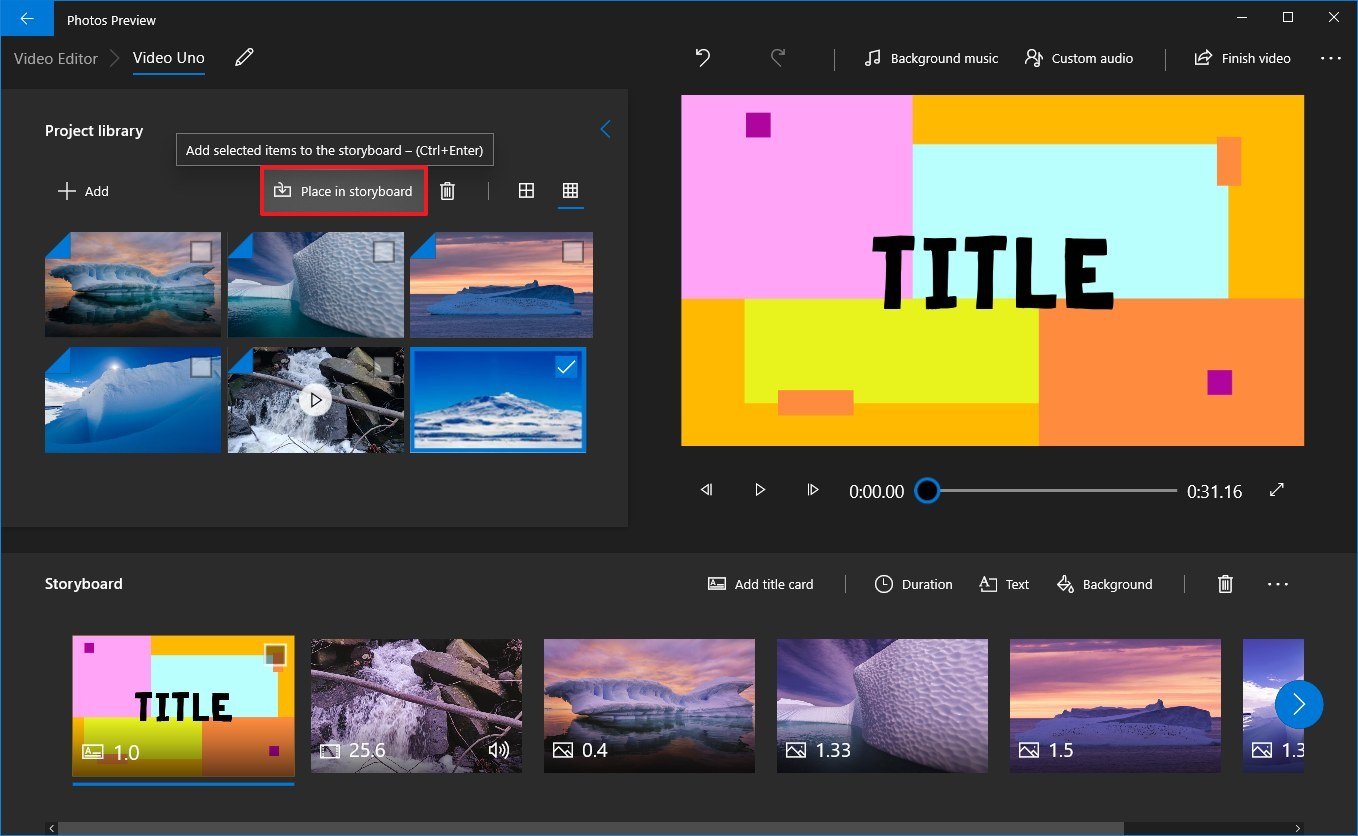
7. While editing a video, you can always add more media files, clicking the Add button, and you can remove files by selecting the items and clicking the Trash button from the top-right.
Trimming a Video
1. Select the video clip you would like to trim under the Storyboard section.
2. Click the Trim button on the toolbar. 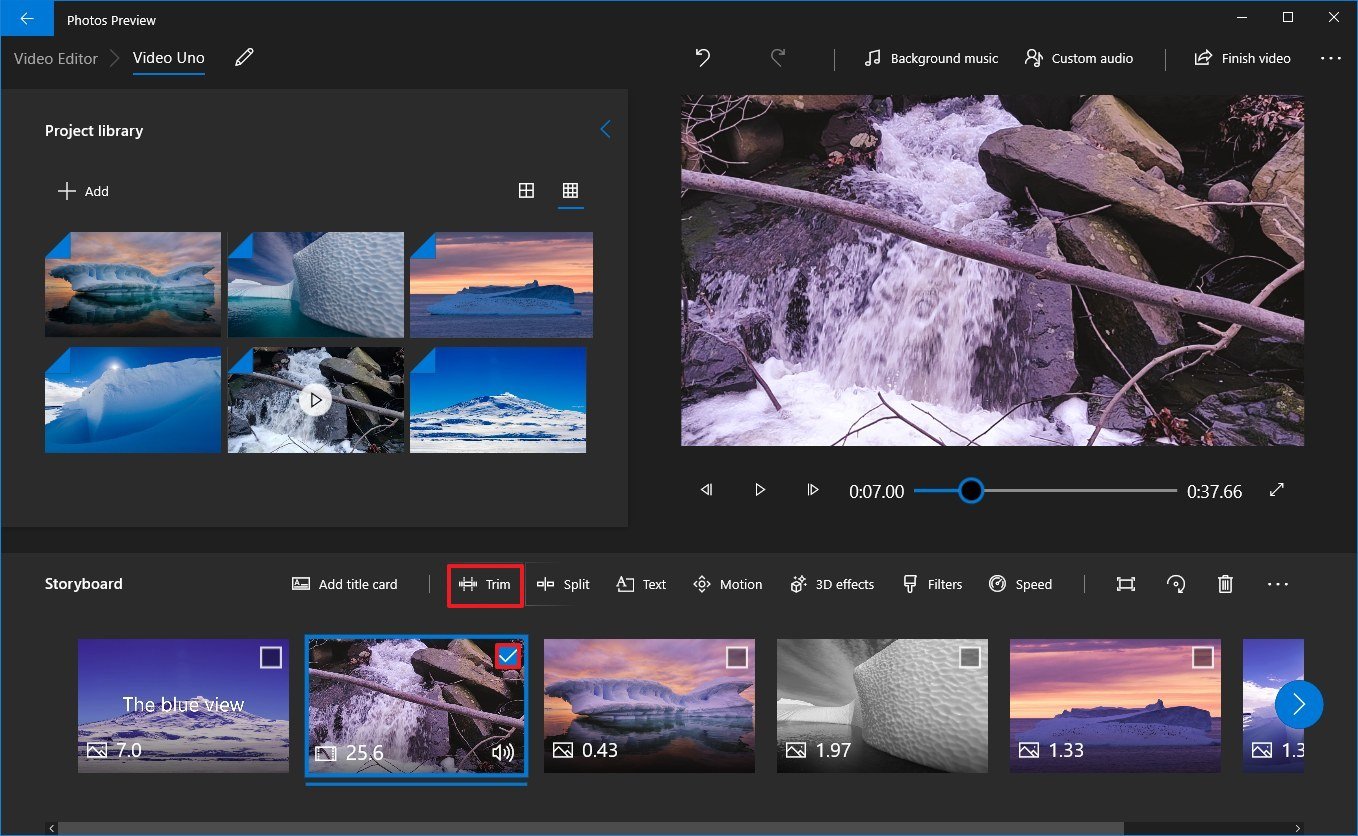
3. Use the controls to choose the trim section. Move the blue tabs on the left and right to cut out the parts of the video in the beginning and end that you would like to get rid of.
4. When you have chosen the video segment you would like to keep, click the Done button. Once you complete the steps, only the video selection you specified will be included in the project.
Splitting a Video
1. Under the "Storyboard" section, select the video clip.
2. Click the Split button from the toolbar.
3. Use the slider to choose the length of the clip.

4. Click the Done button.
5. After you complete the steps, you'll end up with a video divided into multiple parts. (This option will not modify the original video.)
Adding Custom Audio
1. Click the Custom audio button from the top-right corner. 2. Click the Add audio file button.
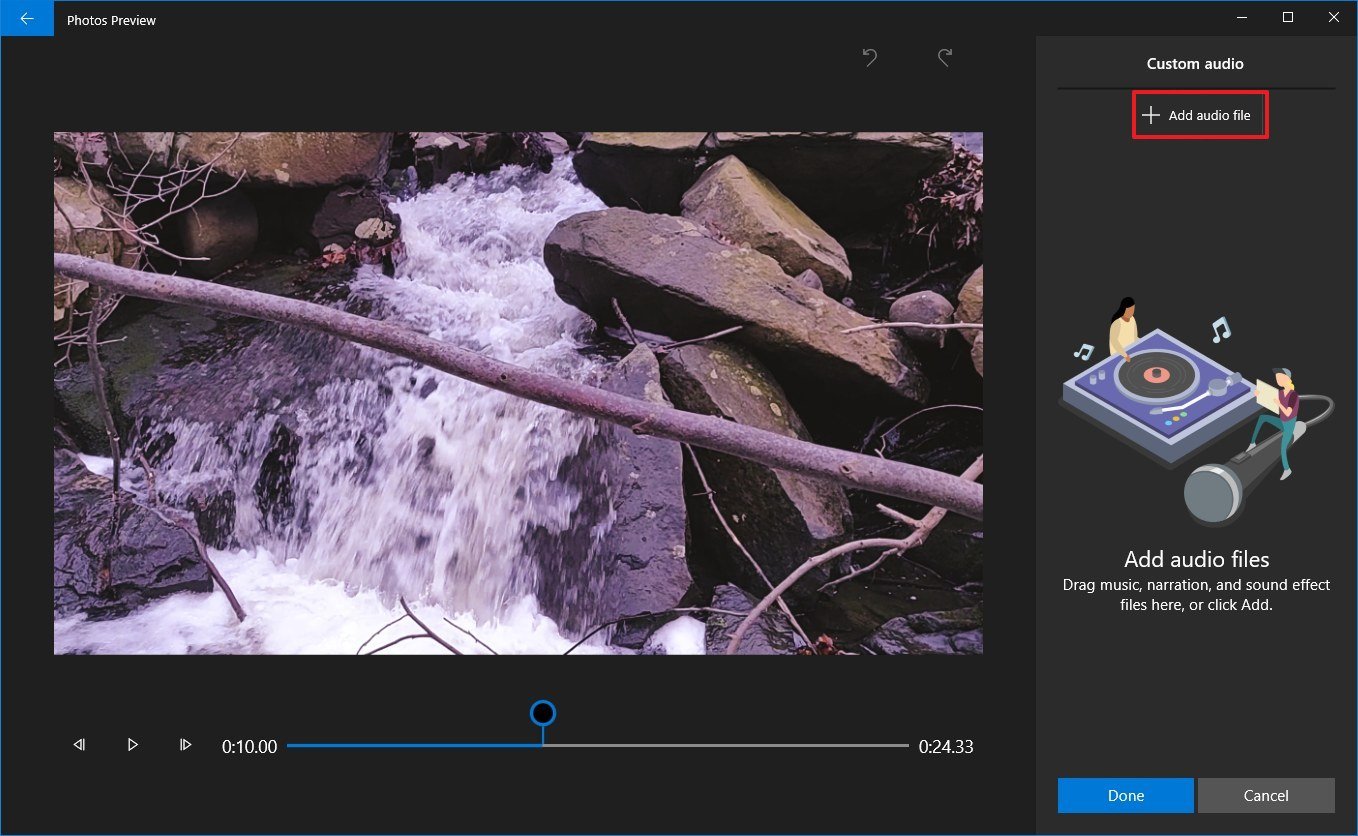 3. Select the audio track.
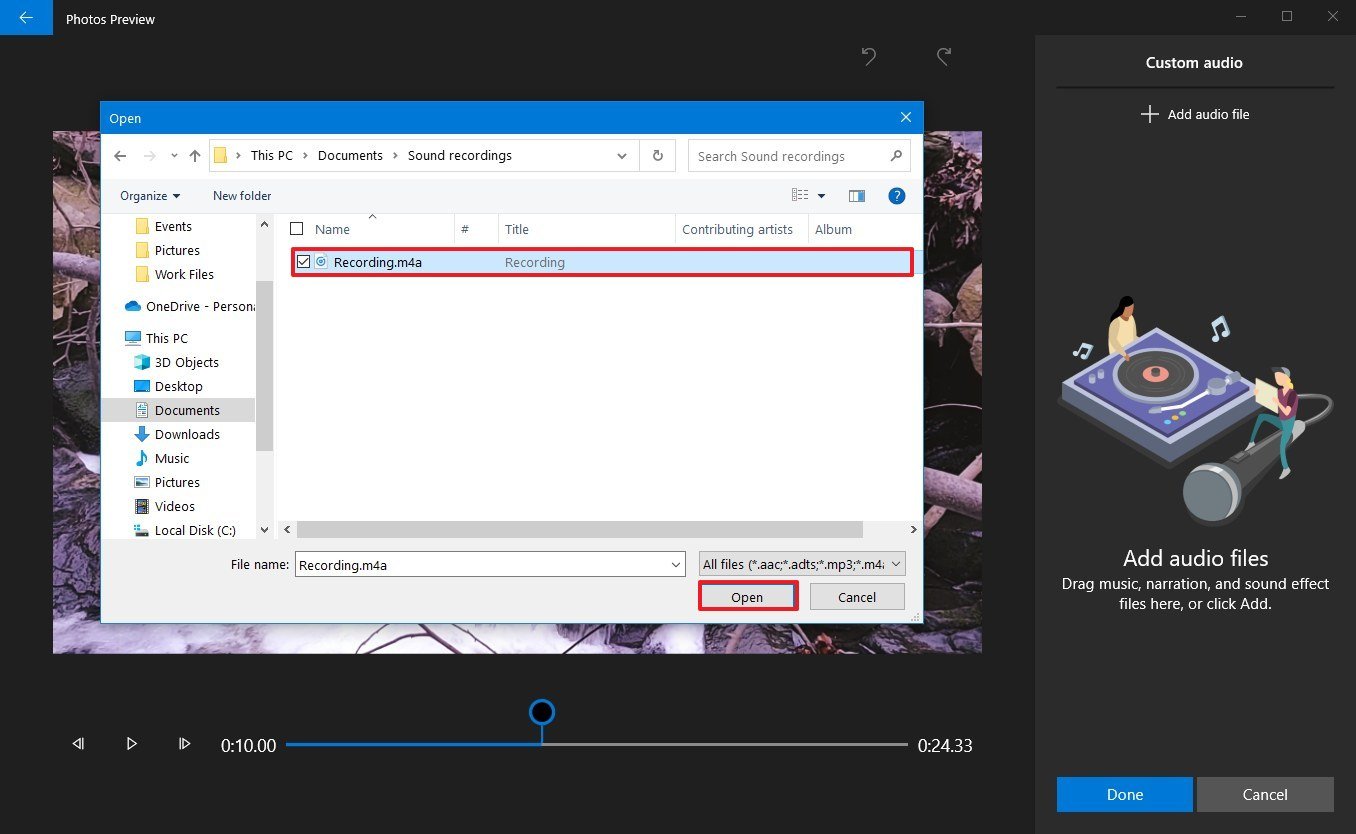
4. Click the Open button.
5. Use the controls on the left side to specify where the audio should play.
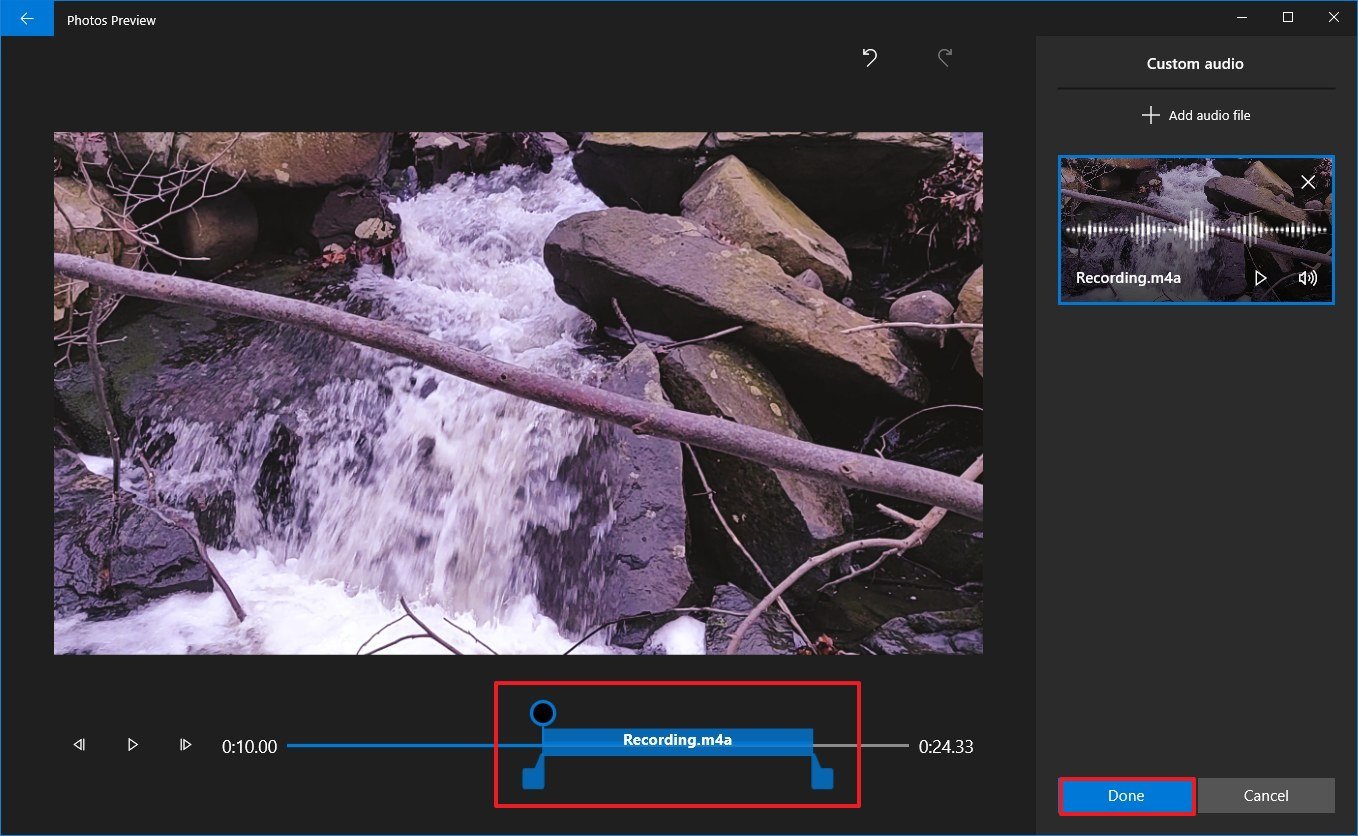
6. Click the Done button.
7. Once you complete the steps, the narration or custom music track will apply to your project.
Note: If you need to add narration, you can use the Voice recorder app to create a recording that you can then import to the project.